SharePoint Framework & Angular Elements : Connecting to your SharePoint data

Your first webpart now works but how cool would it be if you could leverage some data that exists in your Office 365 data? If you’re thinking like me, you’re at the right spot!
Angular Elements and SharePoint Framework are still in their developments. This codes is based on pre-release of Angular Elements and a very “rough” integration with the SharePoint Framework. I am still pushing those samples so you can start playing with the technology. Please don’t use any of this in production as of today. I will update the posts and code when better support will be offered by both Angular and SharePoint Framework.
This post is part of a series of post on integrating the SharePoint Framework with Angular Elements
- SharePoint Framework & Angular Elements : Building your first Web Part
- SharePoint Framework & Angular Elements : Connecting to your SharePoint data (this post)
- SharePoint Framework & Angular Elements : Mocking your data
- SharePoint Framework & Angular Elements : Using Google Material Design
- SharePoint Framework & Angular Elements : Using Office UI Fabric Core
Getting started
First of all, make sure you read the Building your first Web Part post to understand how to get things started and have a working Web Part!
Importing ZoneJS in your project
In that specific scenario, because of async nature of the calls you will make to SharePoint and to simplify the development experience, we will need to “embed” an important piece of Angular : ZoneJS. Everything can be done without (as it’s not a required piece anymore) but it’s easier to use it for demo purposes.
To include ZoneJS, you have to add it to packages.json, to the wc-shim.js and to the Custom Element you are
building.
package.json
{
  //...
  "dependencies": {
    //...
    "zone.js": "0.8.18"
  }
  //...
}
wc-shim.js
import 'zone.js';

(function () {
  //...
})();
index.ts
//web components ES5 shim
import './../../../elements/wc-shim.js';
import { registerAsCustomElements } from '@angular/elements';
import { platformBrowser } from '@angular/platform-browser';

import { ListRest, ListRestModule } from './list-rest';
import { ListRestModuleNgFactory } from './list-rest.ngfactory';

registerAsCustomElements([ListRest], () =>
  platformBrowser().bootstrapModuleFactory(ListRestModuleNgFactory)
).catch((err) => console.log(err));
Passing the context to your webpart
Ensure you have an Input property in your Component that accepts a WebPartContext and you will be able to transfer
your WebPart context directly in your Component. That will simplify a lot of the calls as the SPHttpClient takes care
of some of the authentication challenges that exist in the SharePoint Framework.
list-rest.ts
//...
import { WebPartContext } from '@microsoft/sp-webpart-base';

@Component({
  //...
})
export class ListRest {
  //...
  @Input() context: WebPartContext;
  //...
}

//...
You will also need to change the way to render your Component in your Web Part as you will need to pass in a complex object that would bot be supported as a simple custom element property.
ListWebPart.ts
//...

export default class ListRestWebPart extends BaseClientSideWebPart<ListRest> {
  public render(): void {
    let ngElement = this.domElement.getElementsByTagName('list-rest')[0];

    if (ngElement) {
      this.domElement.removeChild(ngElement);
    }

    const ElementListRest = customElements.get('list-rest');
    const element = new ElementListRest();
    element.context = this.context;
    this.domElement.appendChild(element);
  }
}
Querying SharePoint in your Component
Now that your have access to the SPHttpClient within your component, the only missing piece is to discuss with the
SharePoint REST APIs! In this sample, we are only highlighting the lists that exist in the current Site, but you can be
very creative here!
list-rest.ts
import { Component, NgModule, Input, ViewEncapsulation } from '@angular/core';
import { BrowserModule } from '@angular/platform-browser';
import { CommonModule } from '@angular/common';
import { WebPartContext } from '@microsoft/sp-webpart-base';
import { SPHttpClient, HttpClientResponse, IGraphHttpClientOptions } from '@microsoft/sp-http';

@Component({
  selector: 'list-rest',
  templateUrl: './list-rest.html',
  styleUrls: ['./list-rest.scss'],
  encapsulation: ViewEncapsulation.None,
})
export class ListRest {
  @Input() context: WebPartContext;
  public lists: Promise<any[]>;

  ngOnInit() {
    if (!this.context) {
      console.error('Please provide the context!');
      return;
    }

    this.lists = this.context.spHttpClient
      .get(`${this.context.pageContext.web.absoluteUrl}/_api/web/lists`, SPHttpClient.configurations.v1)
      .then((res) => res.json())
      .then((res) => res.value)
      .catch((err) => console.log(err));
  }
}

@NgModule({
  imports: [BrowserModule],
  declarations: [ListRest],
  entryComponents: [ListRest],
})
export class ListRestModule {
  ngDoBootstrap() {}
}
Show your data asynchronously in your template
The only missing piece is to display the fetched data from SharePoint in your Angular Template. Use the *ngFor
instruction combined with the | async option to load asynchronous data and let Angular handle it!
list-rest.html
<div class="helloWorld">
  <div class="container">
    <div class="row">
      <div class="column">
        <span class="title">Welcome to SharePoint!</span>
        <ul>
          <li *ngFor="let list of lists | async">{{ list.Title }}</li>
        </ul>
      </div>
    </div>
  </div>
</div>
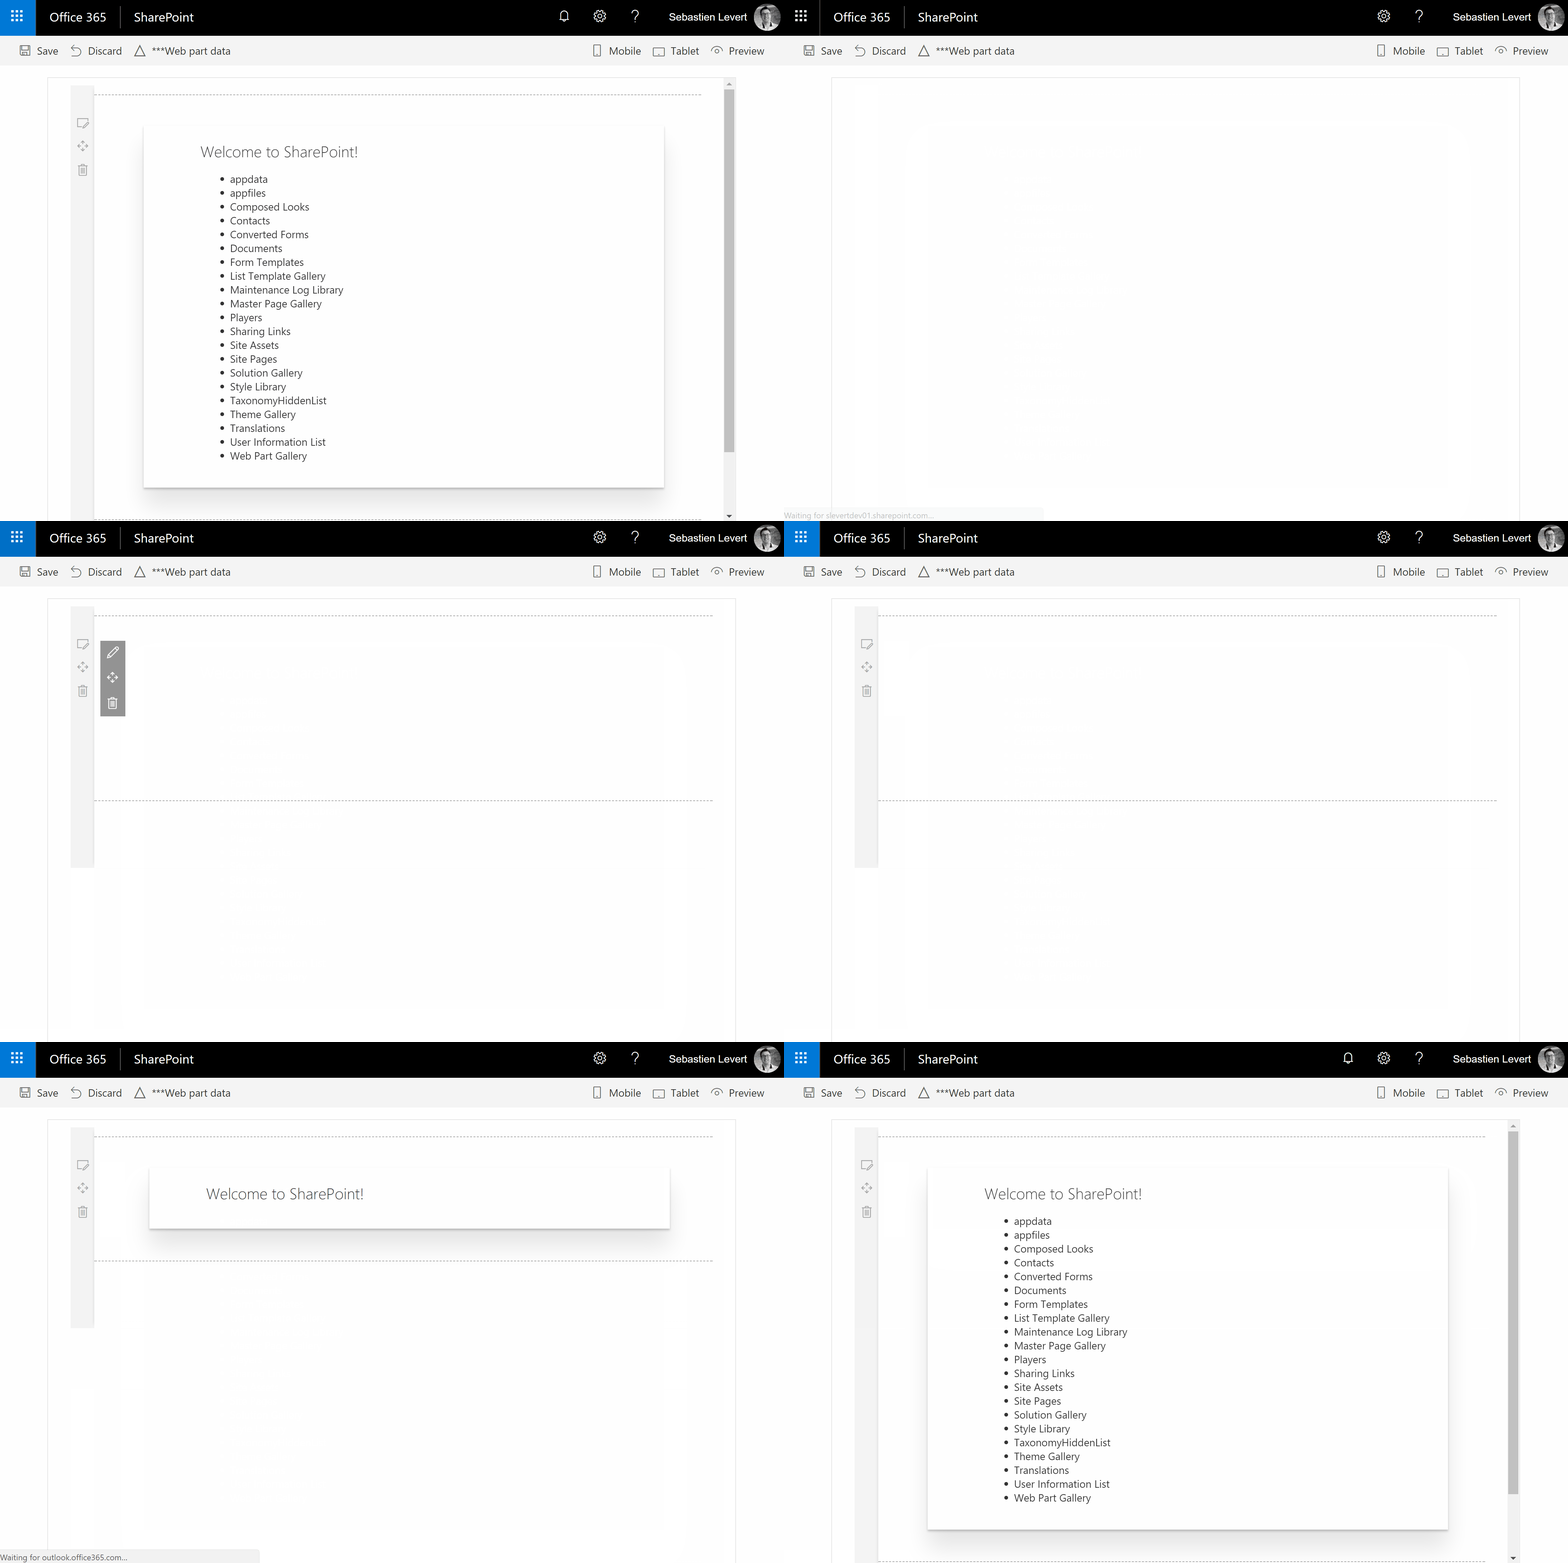
Run your webpart
Once your Web Part is ready, you can finally run it using gulp serve and see the result directly in your SharePoint
Workbench!

Enjoy!
Now that your webpart works, I’ll let you play around and explore the different SharePoint REST APIs that you can leverage in those scenarios!


